Operations Manual
To Prepare For Observation:
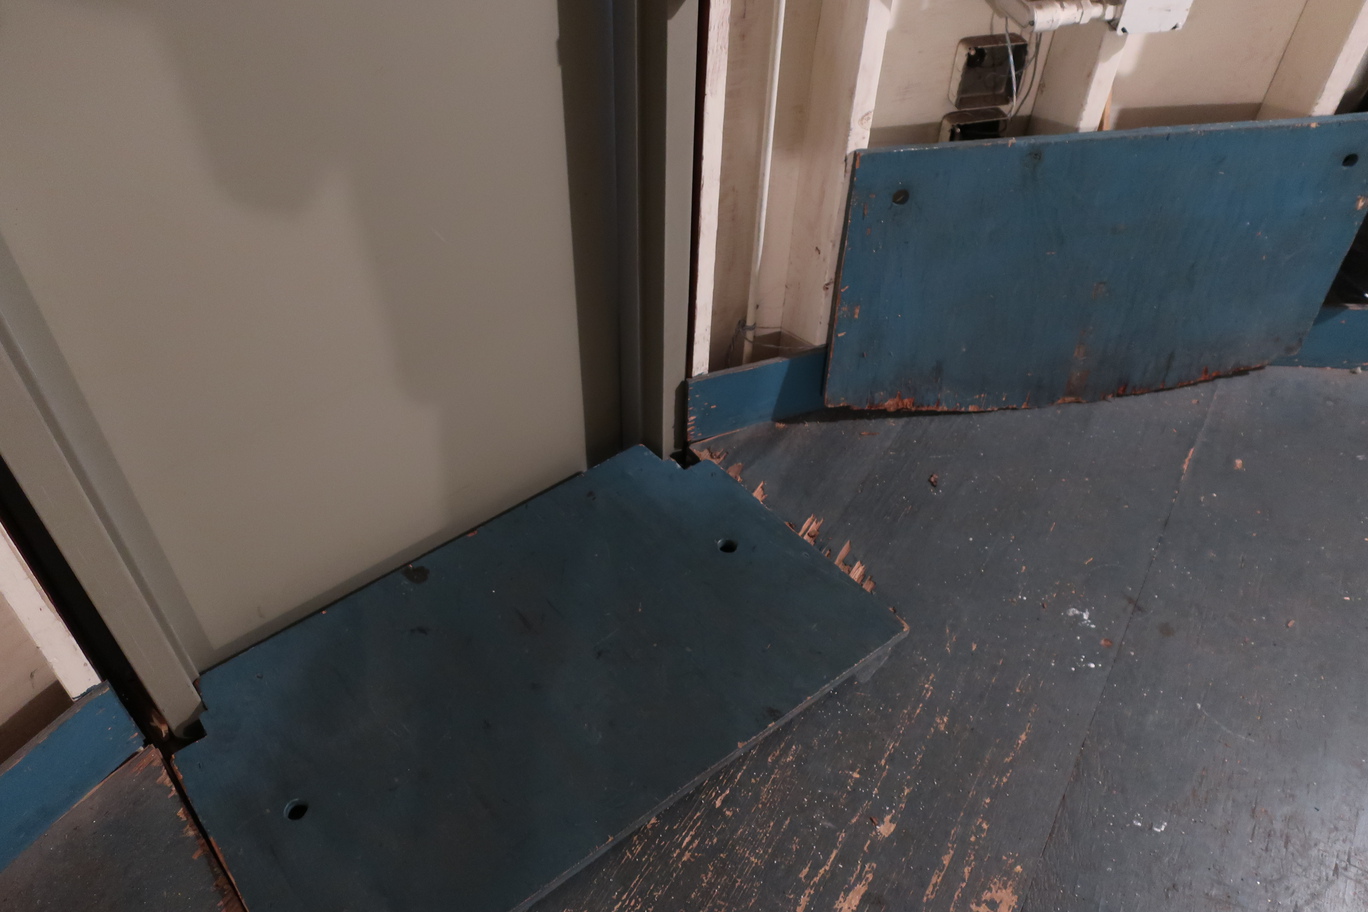
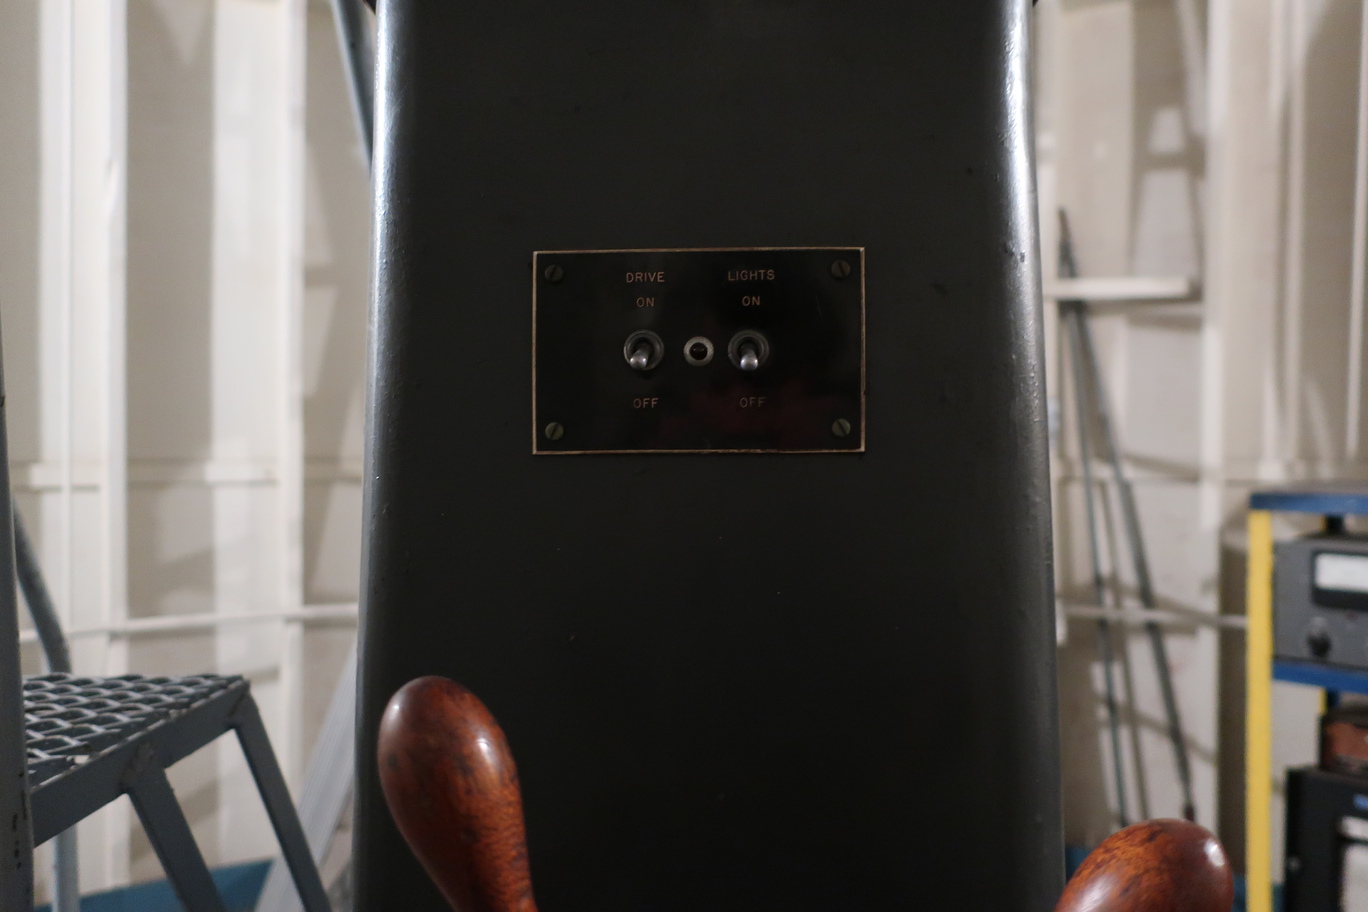
There is a light dial to the immediate left of the door, turning these on can help with setup. They should be dimmed during observation to aid seeing. Optionally, there is a wooden step which can replace the entrance ramp, which makes the floor level to avoid tripping while the lights are dimmed.
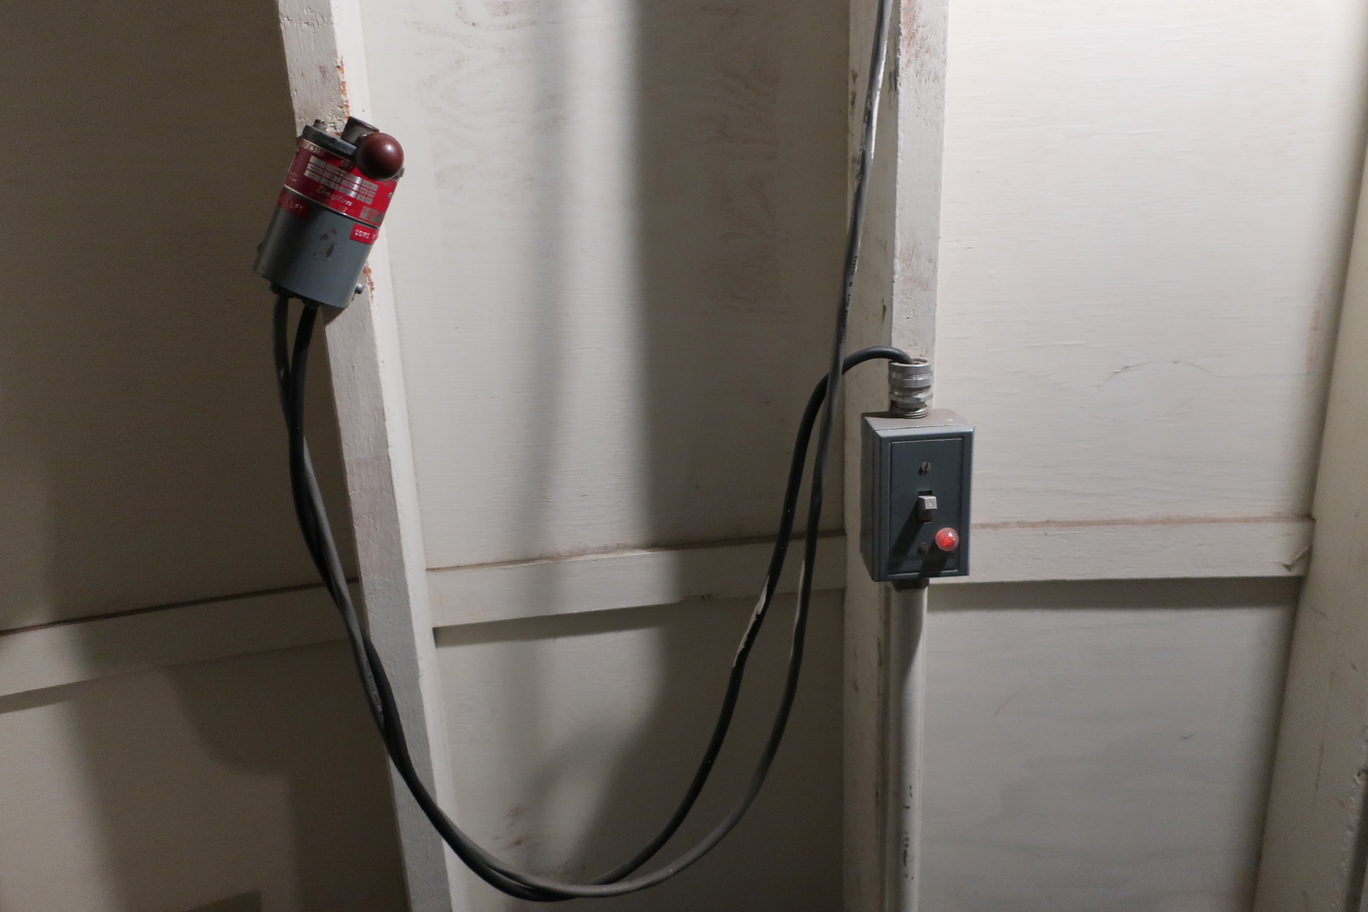
There is an unplugged cord to the right of the door, which goes to the controls for opening and closing the upper dome shutter. Plug this in to open the upper dome shuttter, then unplug it. Leaving it plugged in will pull on the cord when the dome rotates, and may damage it. If looking at something low in the sky, also open the lower dome shutter, which is done manually underneath the shutter itself. In the event that the mechanism fails, the upper shutter can be closed by spinning the loop visible at the top of the dome, using the long hooked stick provided.
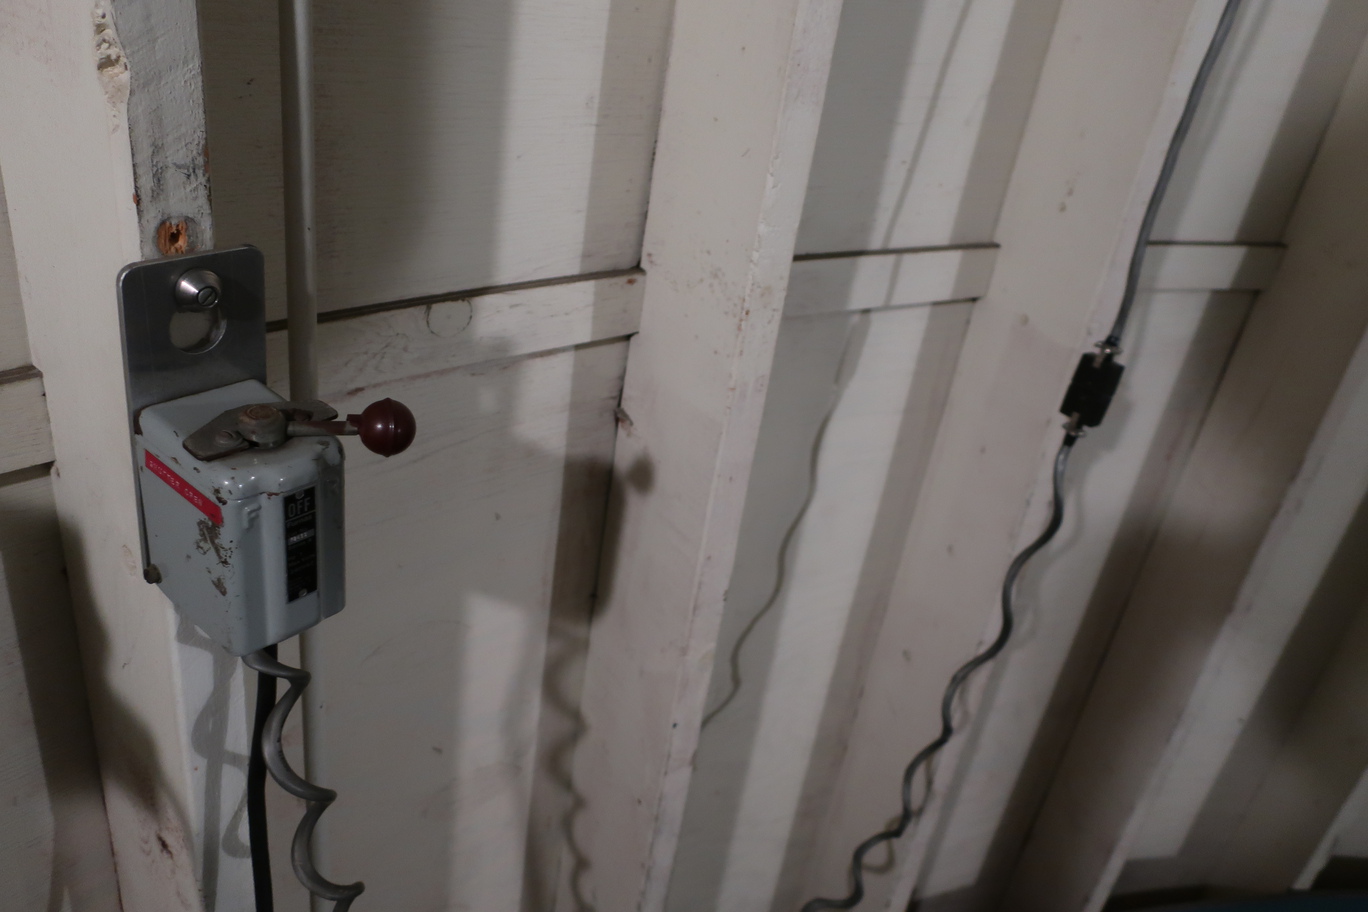
To rotate the dome, there is a lever adjacent to the light dial. There is a measure of Hour Angle along the base of the dome itself, which can be used to point the dome in the appropriate direction before beginning observation.
Operating the Telescope:
On the telescope are two red wheels to denote coordinate. The Declination wheel, marked from 1 through 360, and the Hour Angle wheel, marked 1 through 24 in roman numerals (I through XXIV). These are used to line up to the position of the target coordinate. The telescope itself can be moved manually, while the wheel at the base can be used to adjust the Hour Angle.
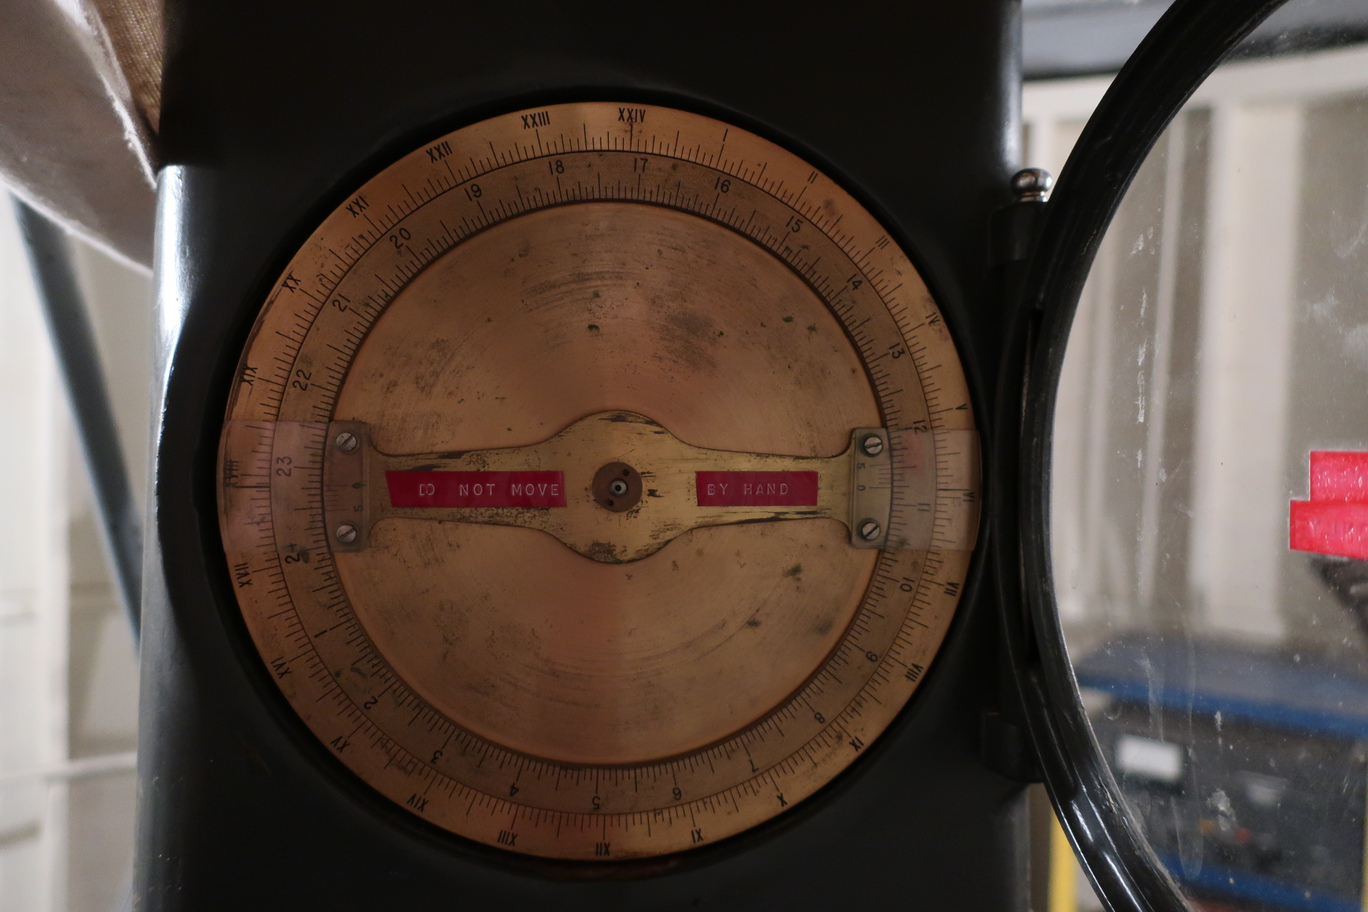
When looking for objects to observe, you will note that the coordinates are often given in Right Ascension. The display over the wheel at the base of the telescope can be used to adjust for this. The outer wheel is fixed, and represents the Hour Angle position of the telescope, with the dial on the display matching the telescope’s position. The inner wheel can be rotated, and is used to represent the Right Ascension. You can use a star with a known position, for example Betelgeuse at 5’55” Right Ascension, and adjust the inner ring such that that these line up. From there, you can use the wheel to move to the desired Right Ascension on the dial.
Once the telescope is pointing to the generally-correct area, the smaller (“finder”) telescope can be used to sight your target, allowing you to line the telescope up more exactly.
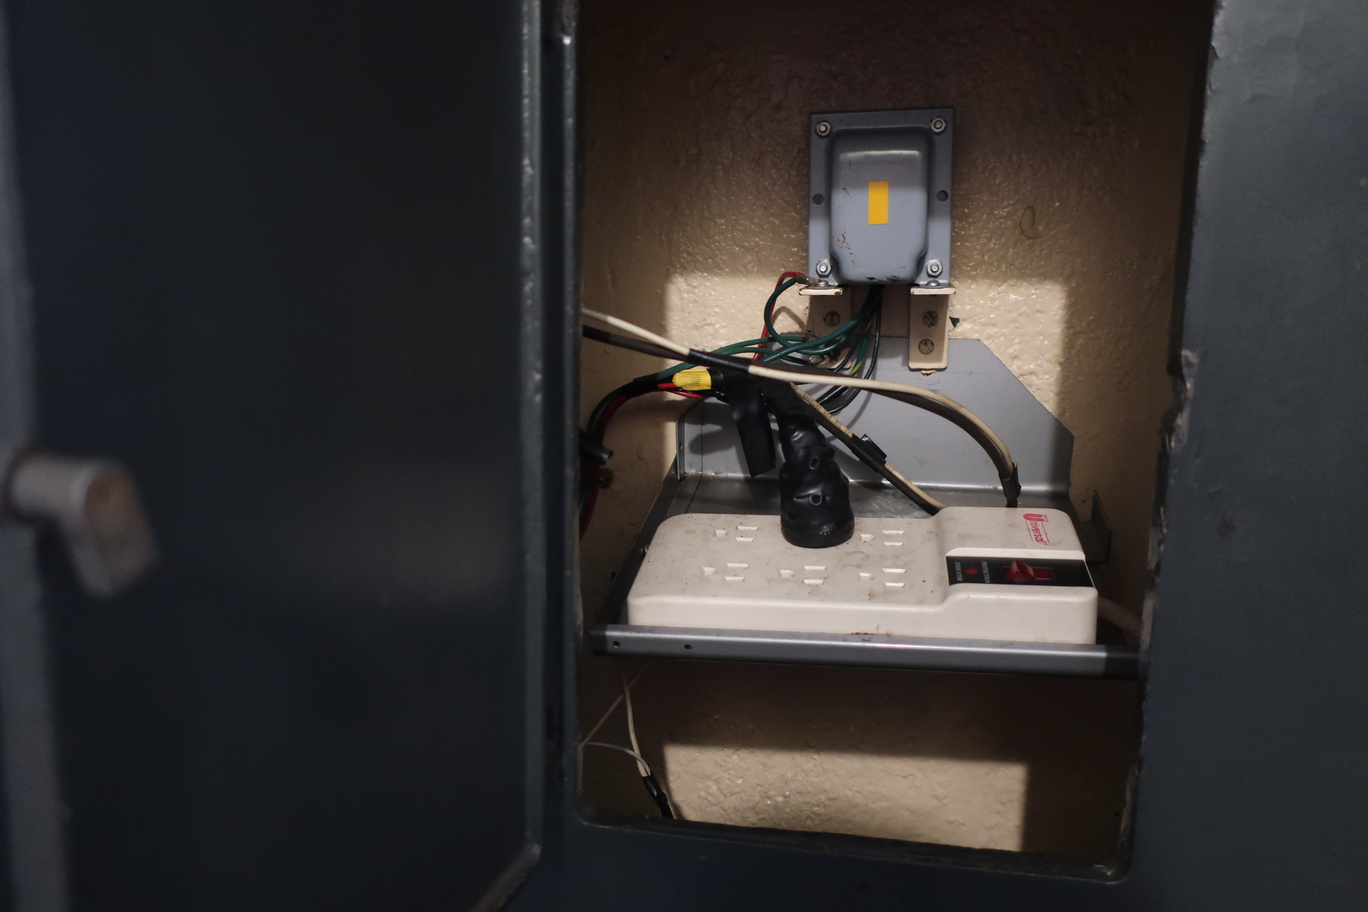
If you intend to watch a specific object for a long period, activating the drive is helpful. The power strip for this is found in a hatch at the base of the telescope, to the right if you are facing towards the wheel. When on, the telescope will move so that it is remains pointing at a given Right Ascension, changing its Hour Angle. If watching for an extremely long time, you may need to adjust the dome. This can be done while the telescope is in use.
If you wish to take pictures, a camera adapter is provided for many common models of camera. The eyepiece can be unscrewed and one of these attachments put in its place for this purpose. Be sure to replace the eyepiece after taking photographs.
After Observing:
-
Turn off the drive at the base of the telescope.
-
Rotate the dome so that it points towards the south-east.
-
Close the lower shutter.
-
Close the upper shutter, then unplug the cable.
-
Put the dust caps on the main and finder telescopes.
-
Move the telescope so it points at Hour Angle VI or XII, and Declination +90.
-
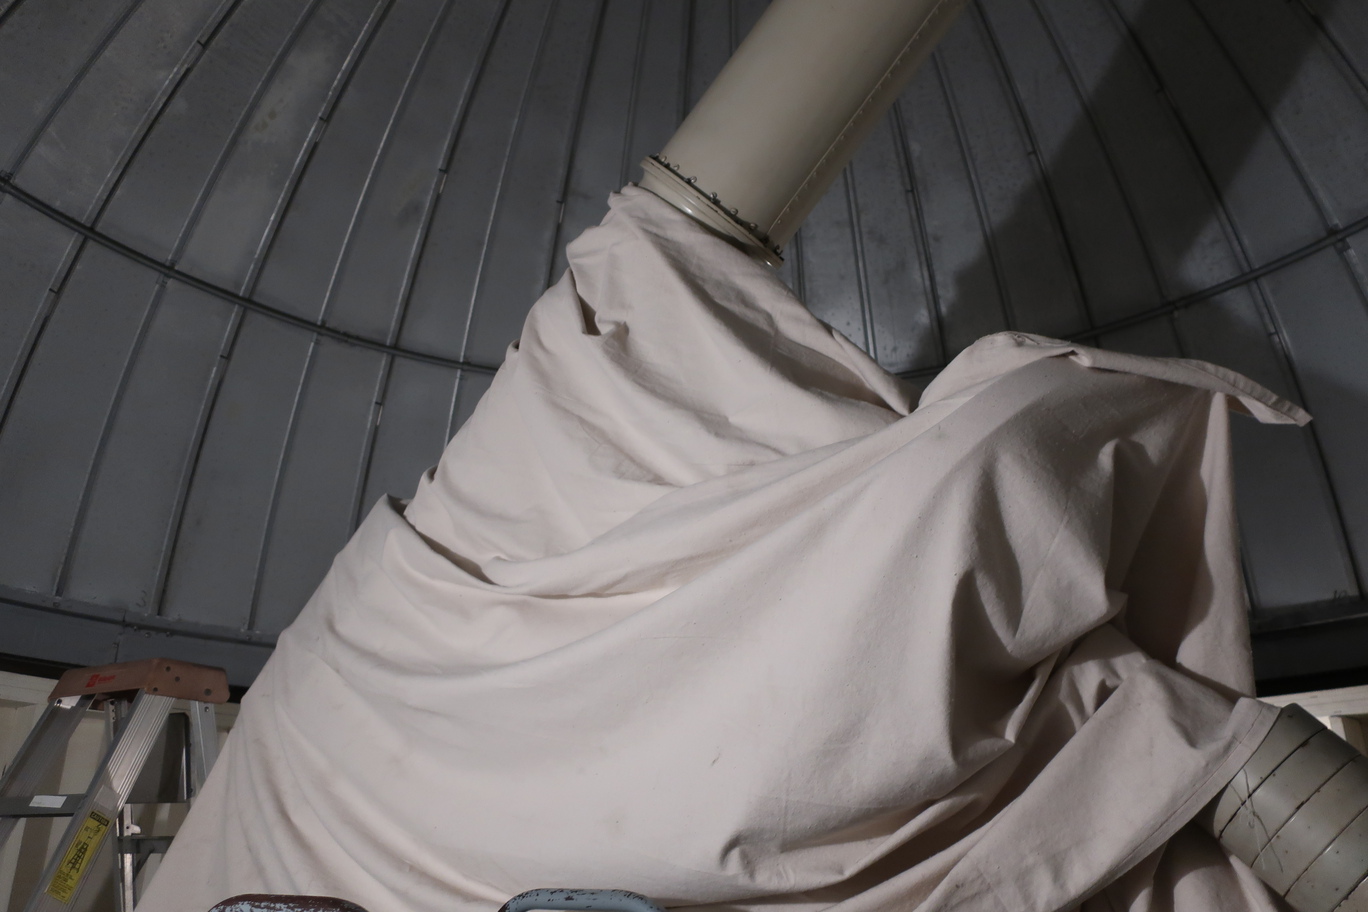
Cover the telescope with the canvas dust cover.
-
Fill out the observing log, which will be on the cabinet.
-
Replace the flat flooring piece at the door with the ramp piece.
-
Turn the lights fully off.
-
Ensure the door is locked.
-
Return the key to the Astronomy department.