Menu
Step 1
Step 2
Step 3
Step 4
Step 5
Step 1 of 5
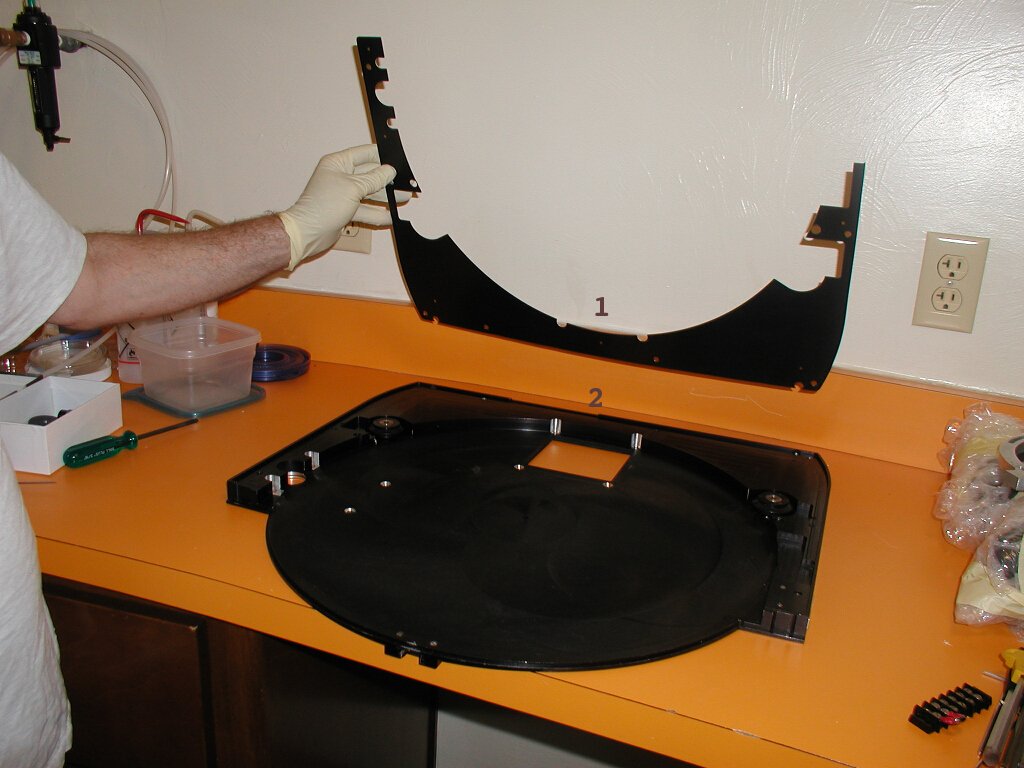
- An extra cover plate, to fill up the empty space between
the top and bottom plates. The conjecture is that it was made
in order to fix a screwup at some point in the thing's design.
Either way, it needs to go on.
- The bottom plate itself.
Back to the menu
Step 2 of 5
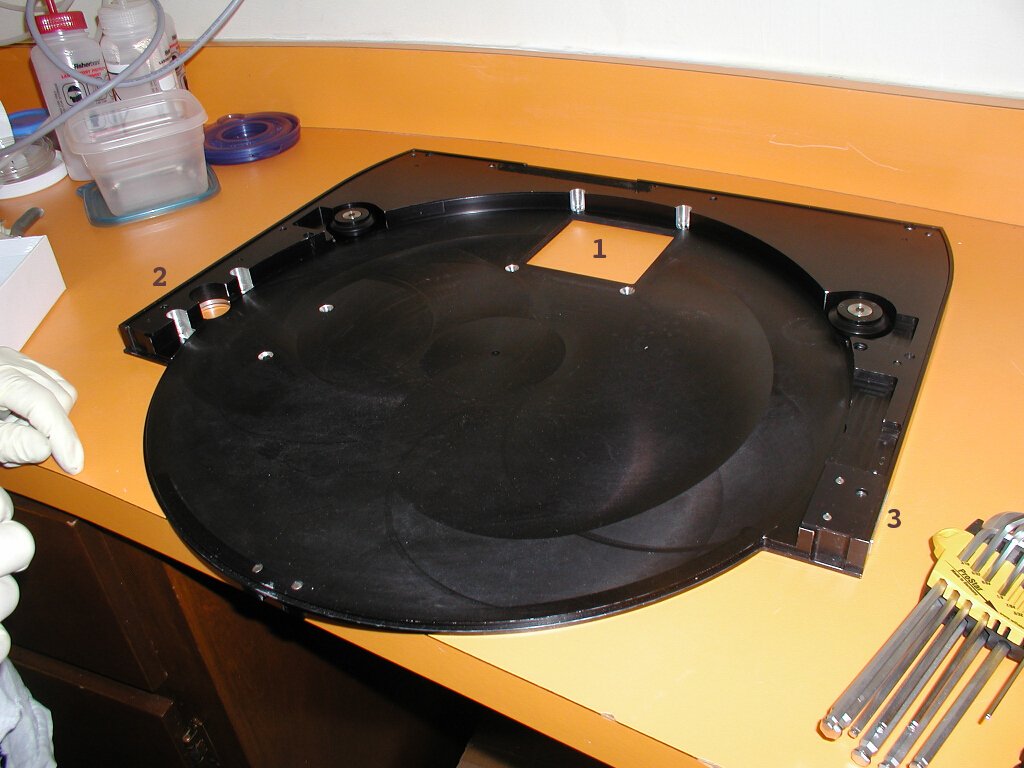
- The dewar window.
- You can see the screwholes for where the filter wheel motor
gets mounted, as well as the hole where the friction drive is
inserted.
- The extra piece is now attached. Just beware: there are
lots of extra holes that currently serve no purpose.
Back to the menu
Step 3 of 5
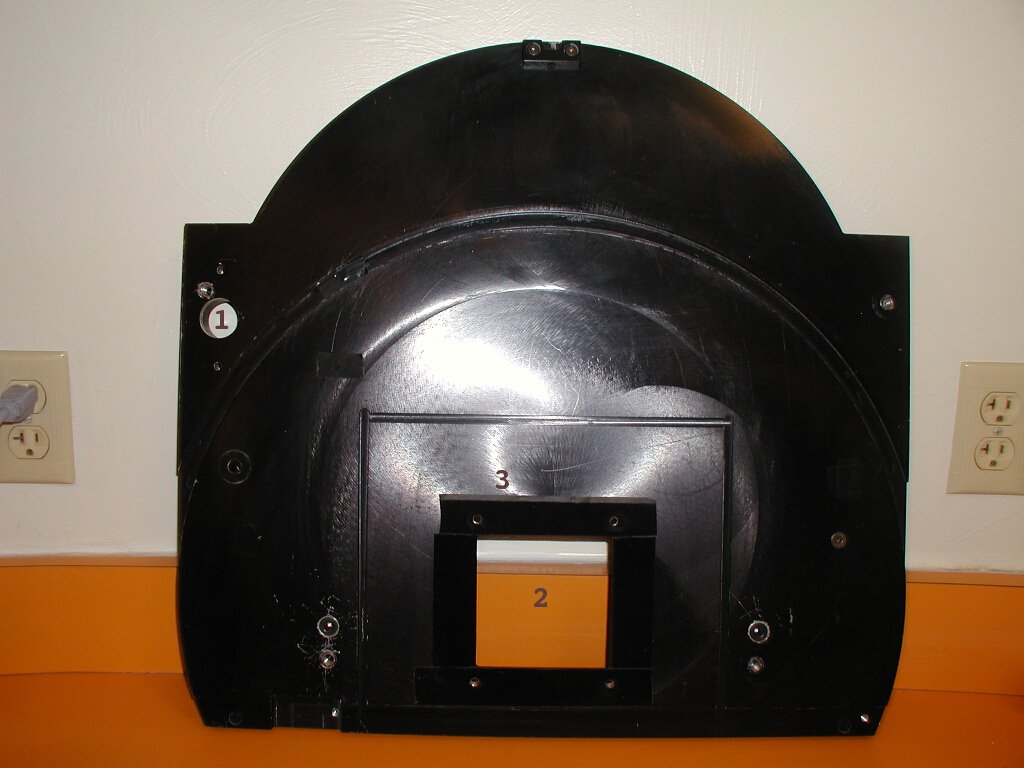
- This is outside of the bottom half. Again, the filter
wheel friction drive goes through here.
- Dewar window.
- The felt you see here is where you mount the light-tight
hat that goes into the telescope.
Back to the menu
Step 4 of 5
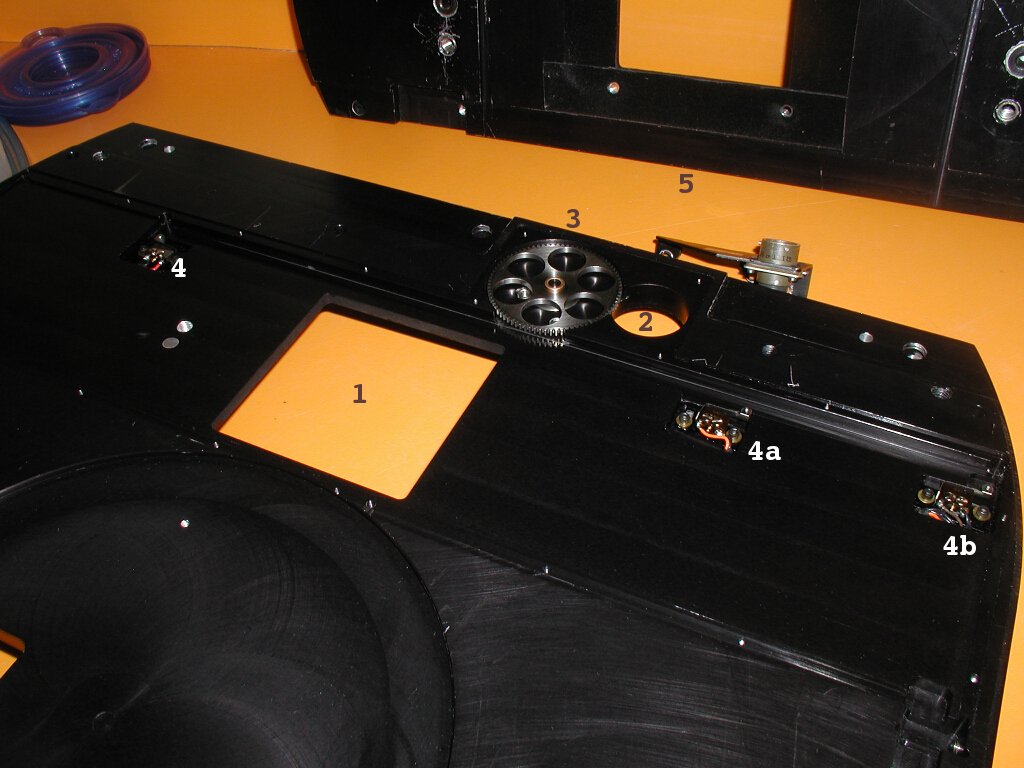
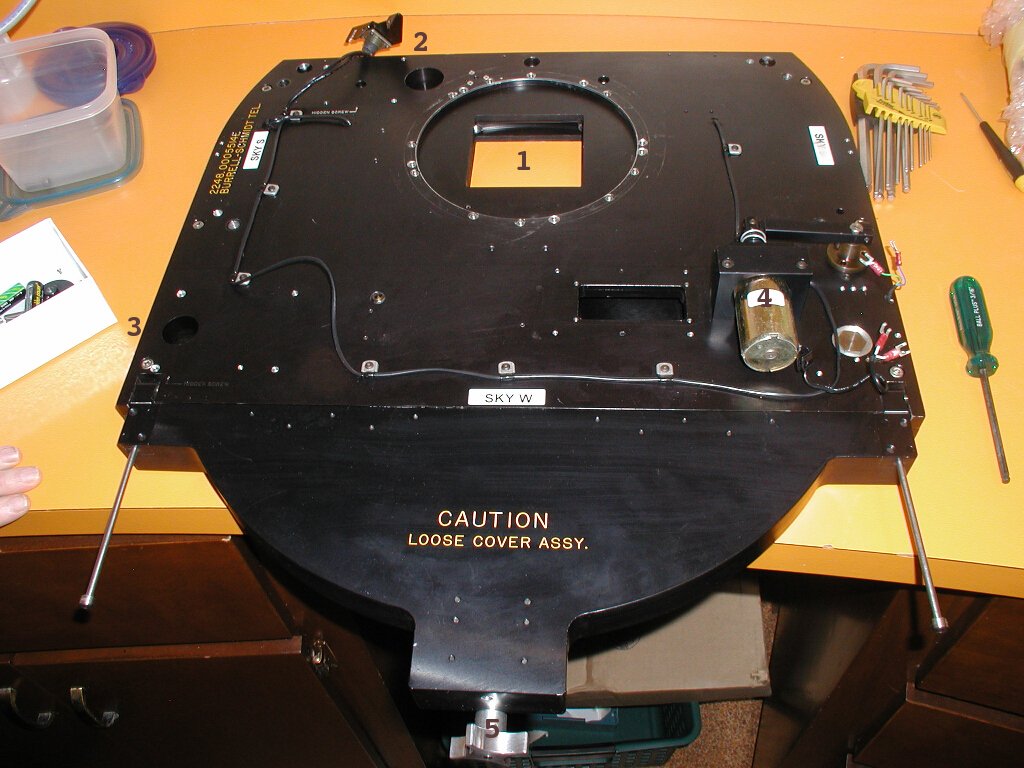
- The shutter window. The shutter slides back and forth
across the plate here. See the shutter page for more details.
- Shutter motor drive goes here, and turns the gear beside
it.
- This gear has teeth that hook up to a line of teeth on the
shutter itself. See the shutter
page for more details.
- Limit switches. 4 is the left, 4a is the center switch (to
align the shutter with the window) and 4b is the right.
- The top half of the whole mechanism. See step 3. This is
just to demonstrate the alignment with respect to the bottom
plate.
Back to the menu
Step 5 of 5
- Shutter window again. The circle around it is where the
dewar gets mounted. You can see a lot of screw-holes: three of
those are new, to mount the new dewar plate ACE is making for
us. The rest are from who knows when and where!
- The shutter motor gets mounted to the left of the hole
here. The hole is where the drive gets inserted.
- This is where the filter wheel motor gets mounted. The
hole is where the friction drive goes.
- The solenoid. That space to the right is where the wires
get screwed on for the encoder, which fits in that rectangle to
the left (see the page on the
solenoid for details).
- Screw this off to lower the bottom half of the plate so you
can insert/take out the filter wheel once this thing is mounted
on the telescope.
Back to the menu
Back to the main page
Back to the base plate menu